Setting up M5’s new Prusa XL
M5’s 3D printer arsenal just got upgraded.
Our new Prusa XL is the largest printer we have ever had. It even comes with two extruders, for multi-color printing!
I was tasked with setting it up, and I figured with my previous experience of assembling 3D printers, it would be relatively simple. It even came (mostly) pre-assembled, so I didn’t think it could be that complicated…
Boy was I wrong…
Assembling the Prusa XL
The printer didn’t come with a manual on how to assemble it, so I had to go to Prusa’s website to find one. Even finding the right manual took a while, because there were a bunch of different ones depending on the version (like single or multi extruder) and manufacturing date.
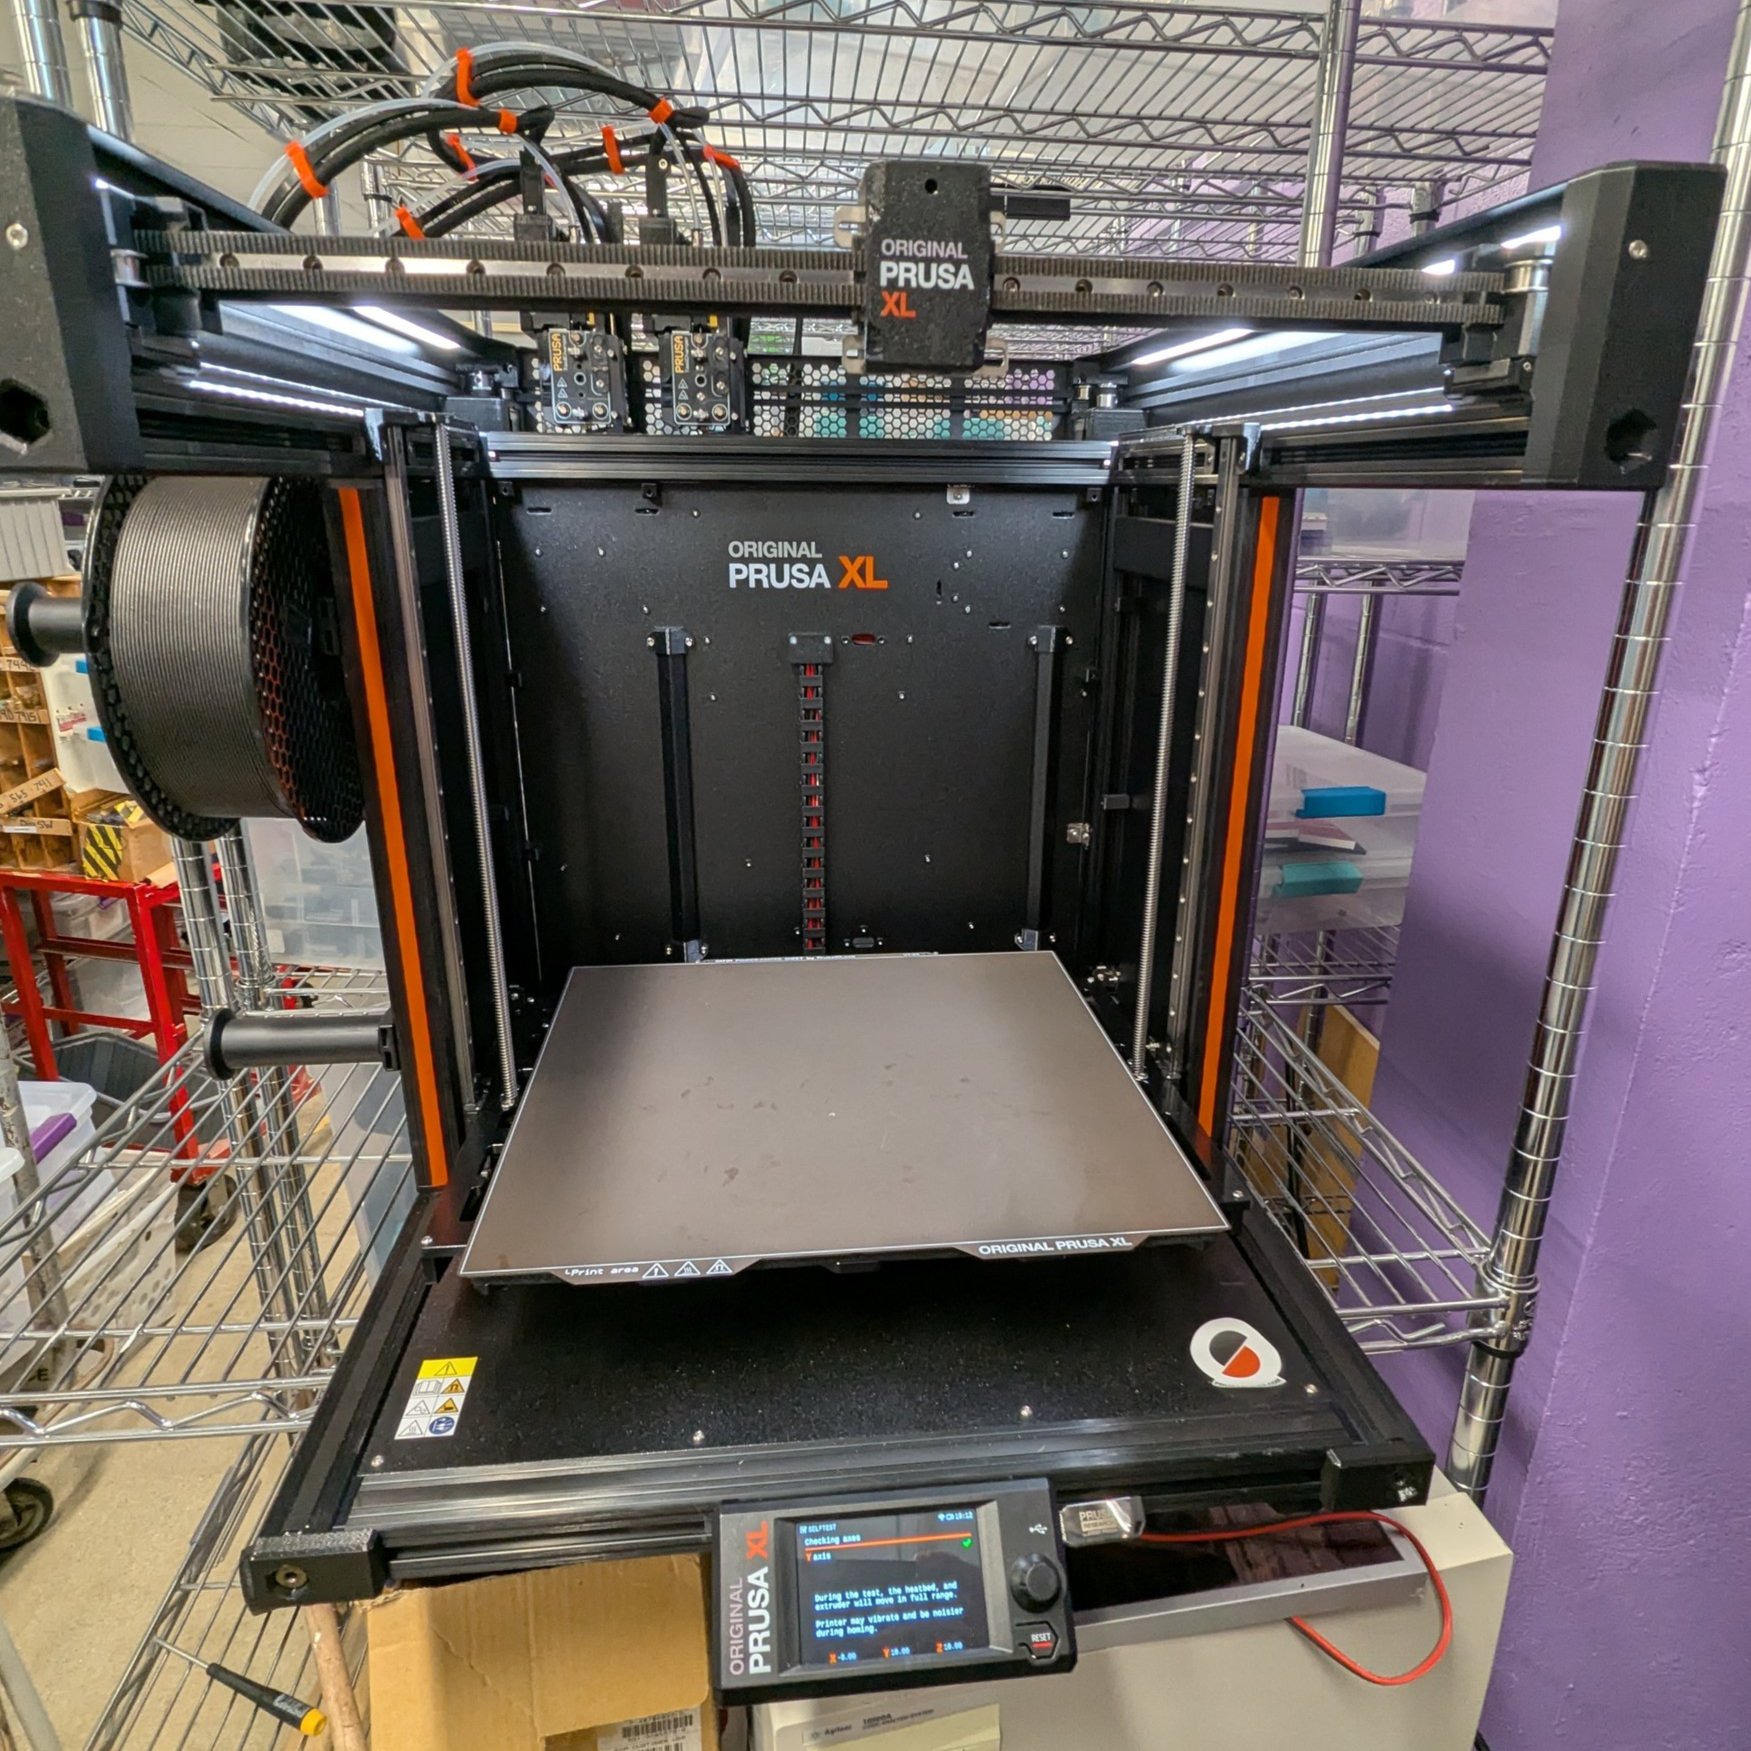
The Prusa XL right after fully assembling it
Once I found the right manual, it was time to start the assembly process. The process was fairly straightforward when following along with the manual, but it took 3 hours(!) from start to finish to complete it. Despite being mostly assembled from the factory, it still was quite a long and painful process.
Calibrating the Prusa XL
Assembling the printer was only half of the setup process… I still had to calibrate the motors, sensors, extruders, etc. Luckily, a lot of the instructions were displayed right on the printer screen, which made it a little quicker. It only ended up taking 2 hours to do all the calibrations and tests, but one of the tests kept failing. For some reason, it kept saying the print fans were not operational, even though I could clearly see they were spinning normally. After doing some research, I found out its a common problem for the XL printers. The “solution” is to remove the shrouds around the print fans, and retry the test. However, I couldn’t find anything online about how to actually remove them, since they don’t seem like they were meant to be removed. Regardless, people were saying it was harmless and could be ignored if they were working properly, so I decided to skip that one.
First Print
I wanted to print something interesting, especially since I could print in two different colors. Miraculously, the USB flash drive that came with the printer included the gcode for a planetary gears mechanism that used two colors. I started the print right before I left for the day, hoping it would be finished when I came in the next day. Unfortunately, I found out that the black PLA spool got tangled pretty early on in the print, so it essentially didn’t make any progress overnight… After starting it again it finished a couple hours later, and I’m glad I can say I’m pleased with the result.

The planetary gears mechanism
It’s a lot of fun to play with.
Even though I dreaded setting up this complicated printer, I’m happy it finally works, and that our 3D printing capabilities have improved.