Fabrication Toolkit for KiCad
A nice feature of KiCad is that it will generate pertinent production files automatically, as with any other ECAD software. Files such as Gerbers, drill, BOM, and CPL files can be spit out from the software with a few clicks, streamlining your end of the manufacturing process.
But some board houses — especially JLC — don’t like the format that KiCad generates for BOM and CPL files. Even worse, you manually have to add part numbers if you want to get a board assembled from the manufacturer.
A plugin for KiCad, called fabrication toolkit, solves both of these issues. This plugin changes the output format for the generated BOM and CPL files from KiCad to align with what JLC expects you to upload, and allows for you to specify LCSC/JLC part numbers in the BOM for the purposes of PCB assembly.
To download the plugin, go to Plugin and Content Manager in the main menu of KiCad.
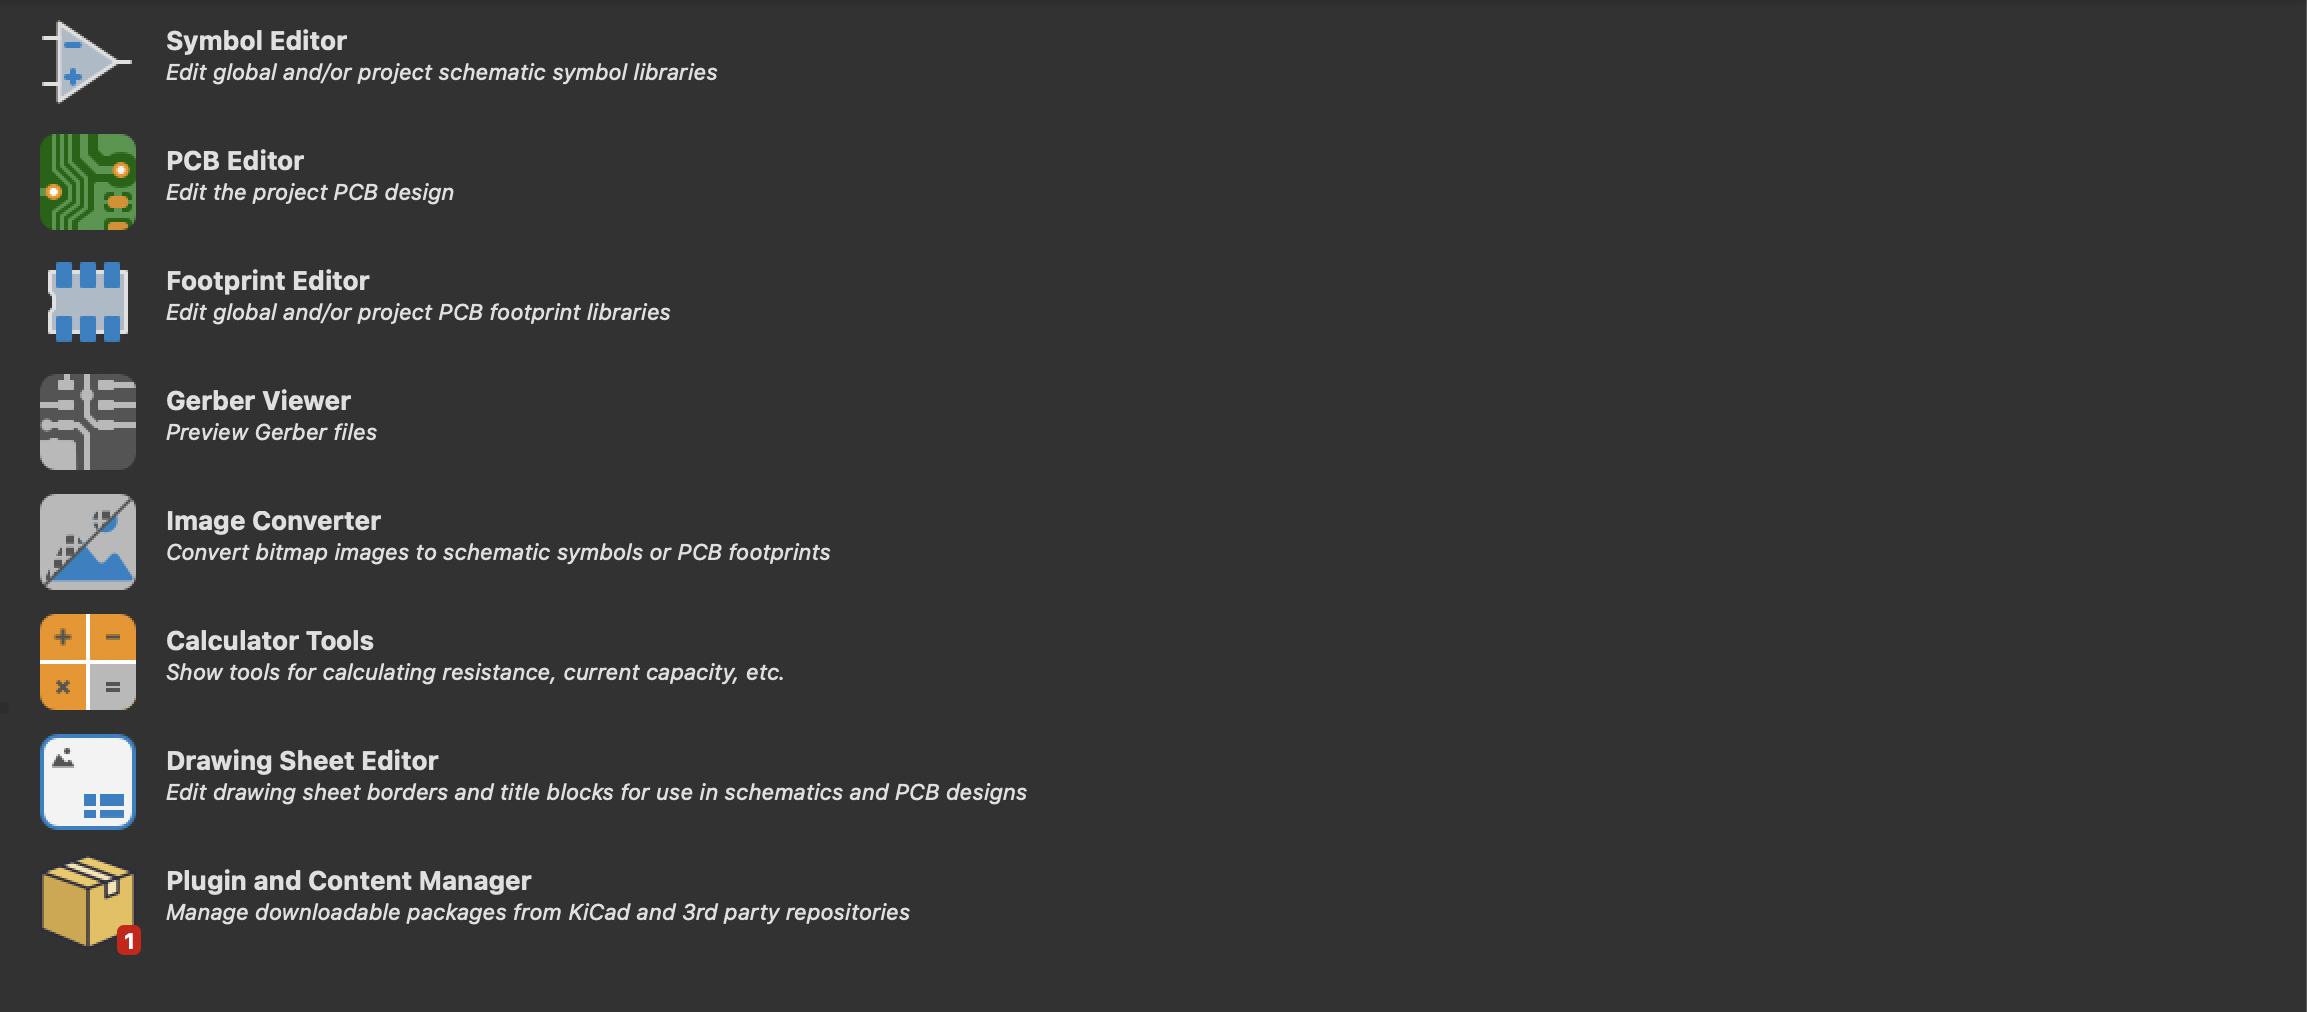
Plugin and Content Manager (bottom)
Then, search for Fabrication Toolkit and download the plugin. Reload KiCad, and when you go into a PCB editor, a new icon will show up in the top right corner.
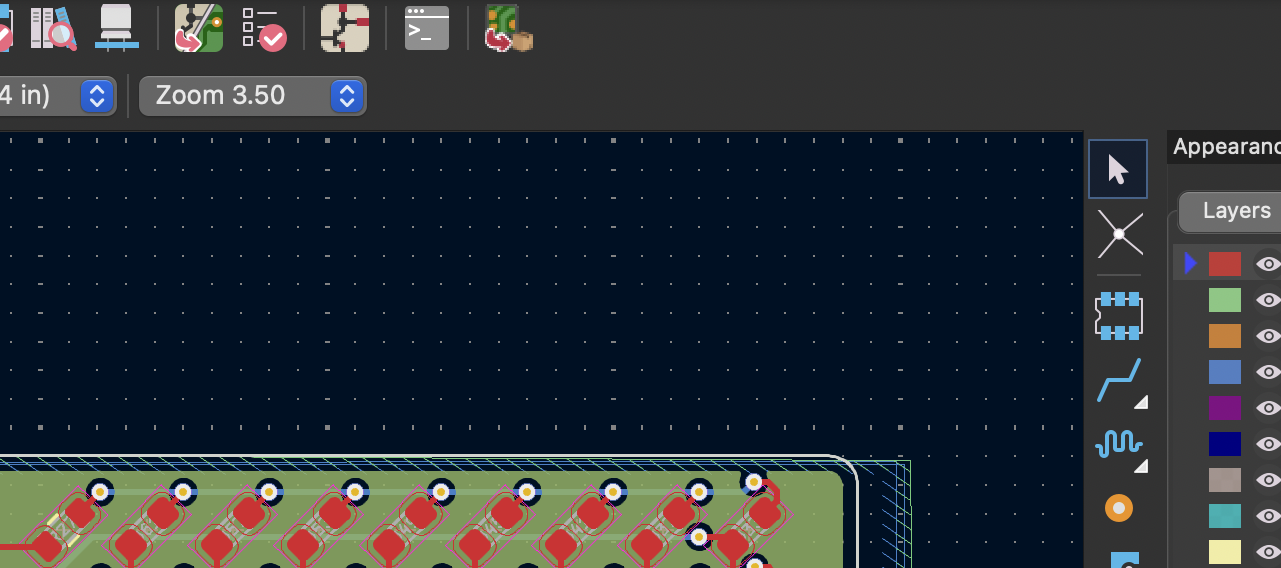
Fabrication Toolkit icon, rightmost icon on the top bar
Use this to generate bill of materials and component placement files.
If you want to add LCSC part numbers, first check the JLC site and make sure they are in stock and available. Then head over to your schematic, and edit the properties of the symbol.
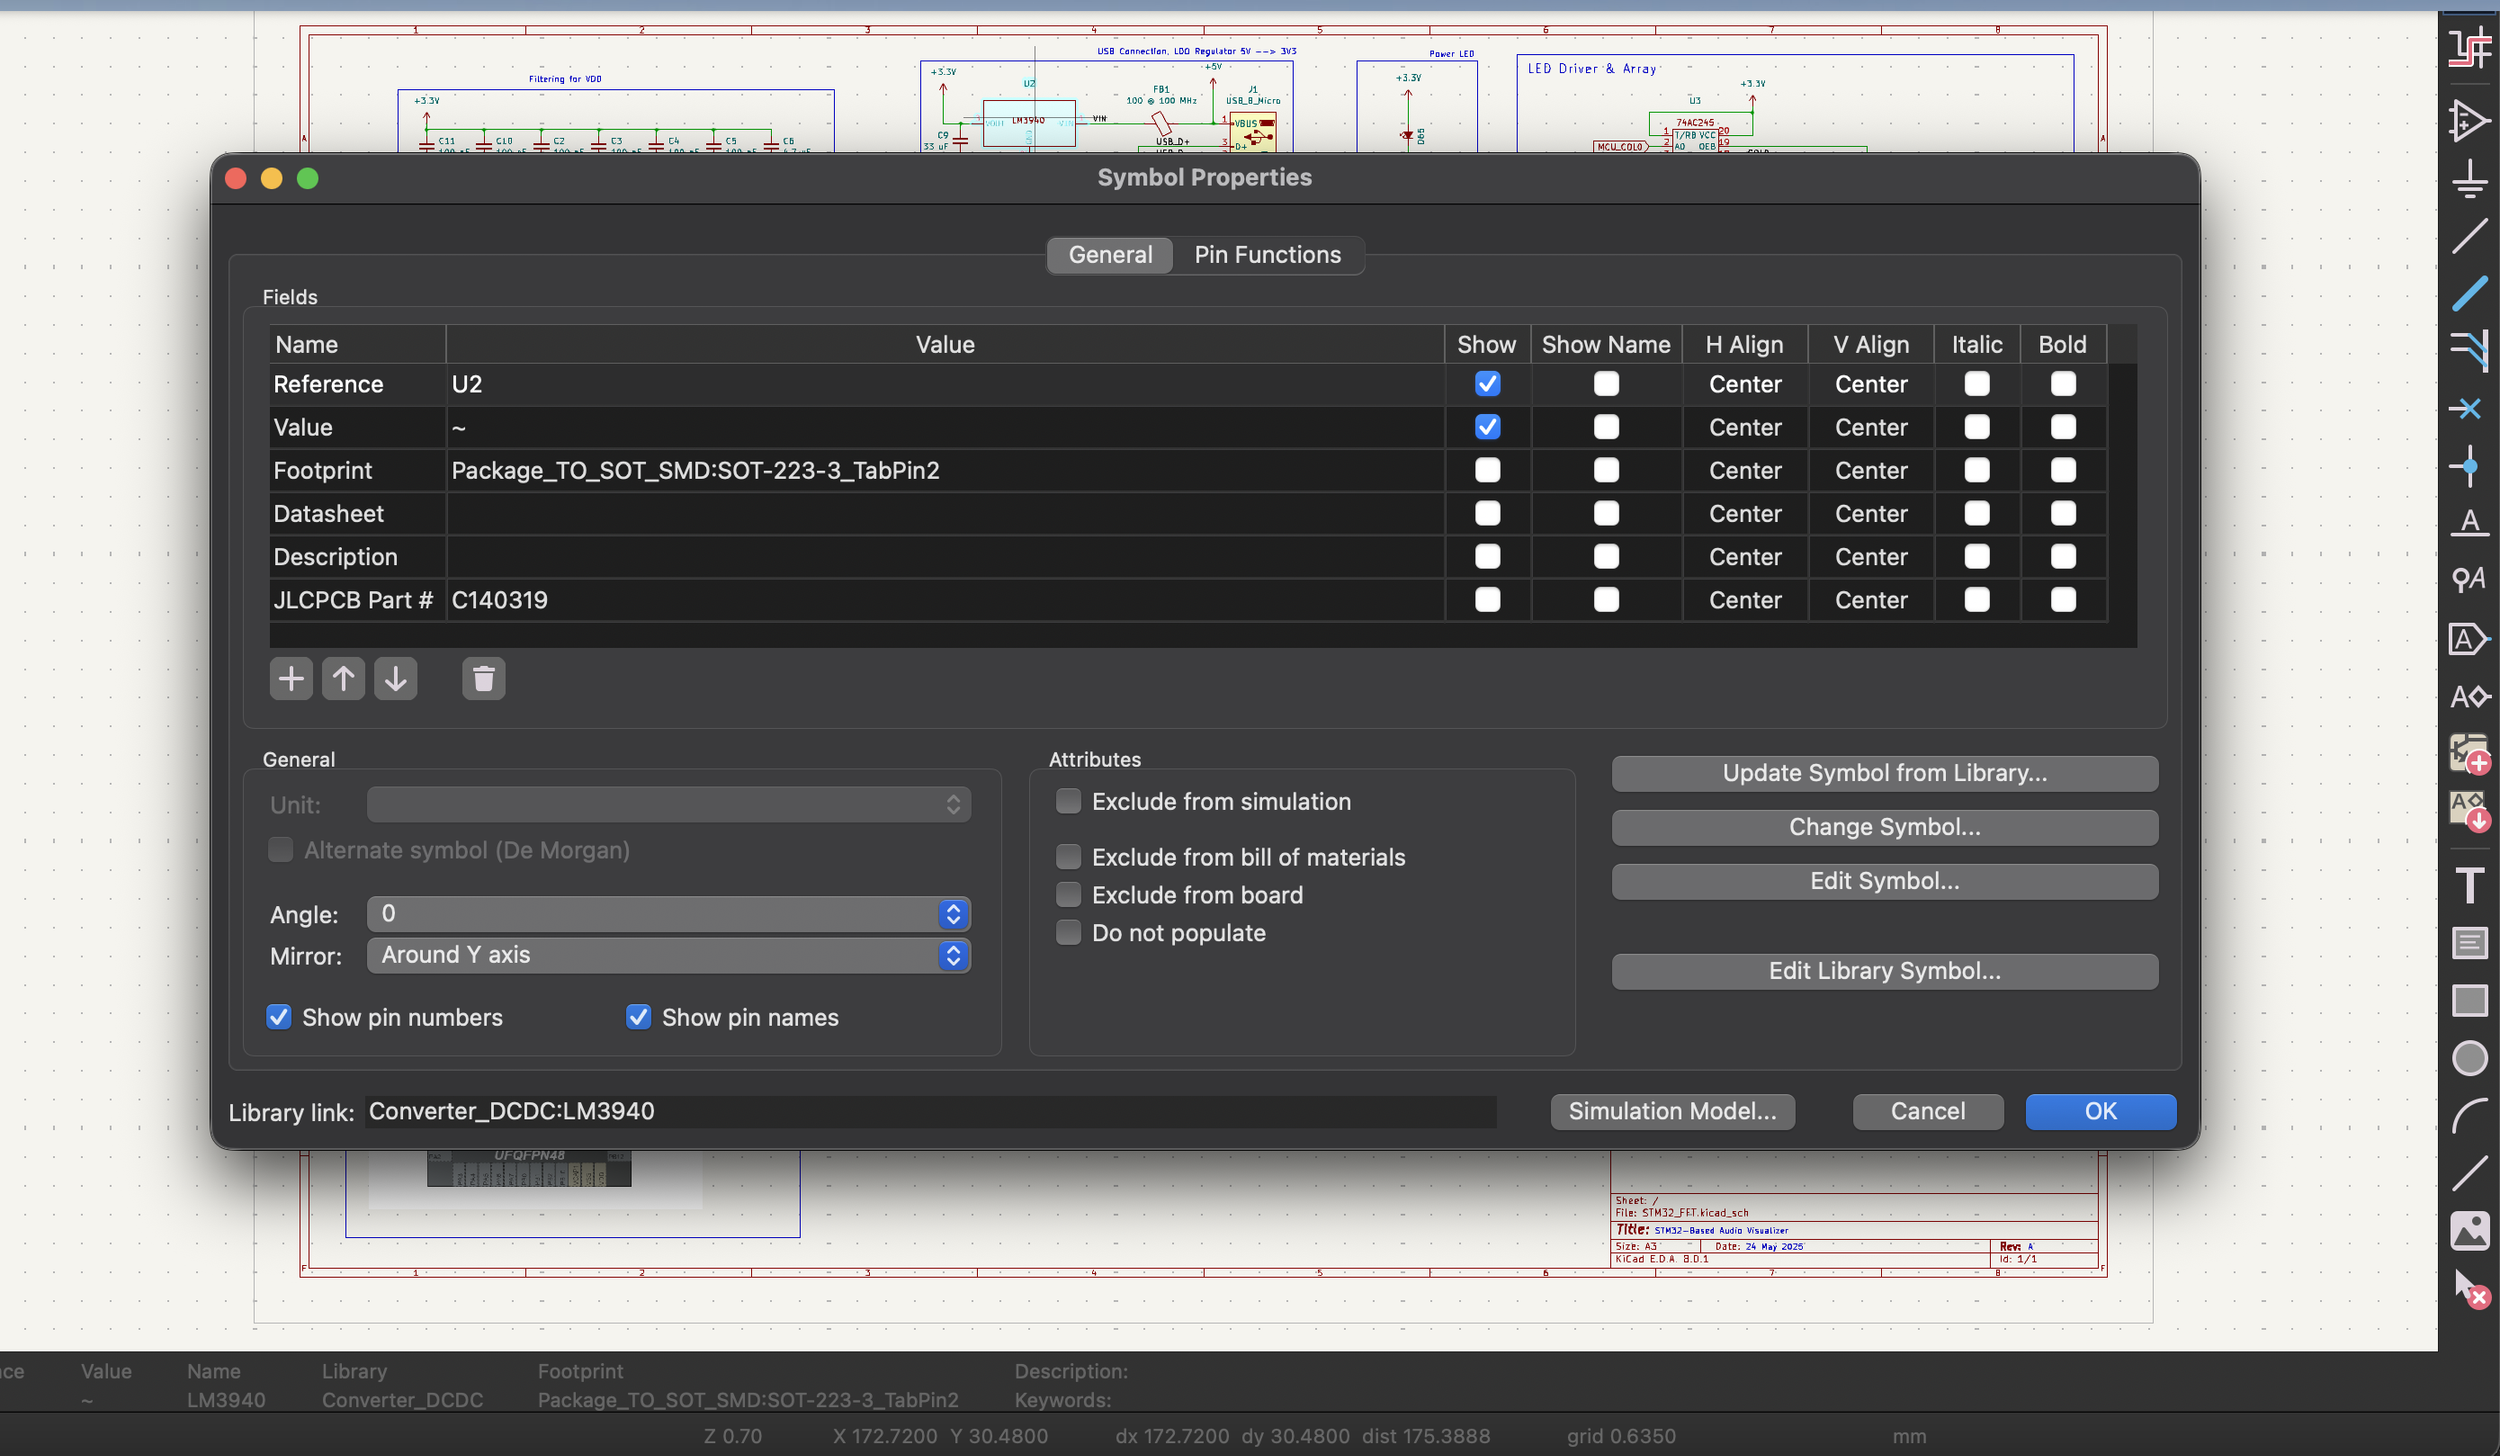
Symbol Properties for an LM3940 (example)
To add a part number, click the + button below the current fields, and call it ‘LCSC Part #’ or "‘JLCPCB Part #’. The latter is considered a backup option for the plugin. Either way, both work. Add the part number to the value of the field, and click OK.
Now, when you generate the BOM or CPL files, the part number will be located in its own column.
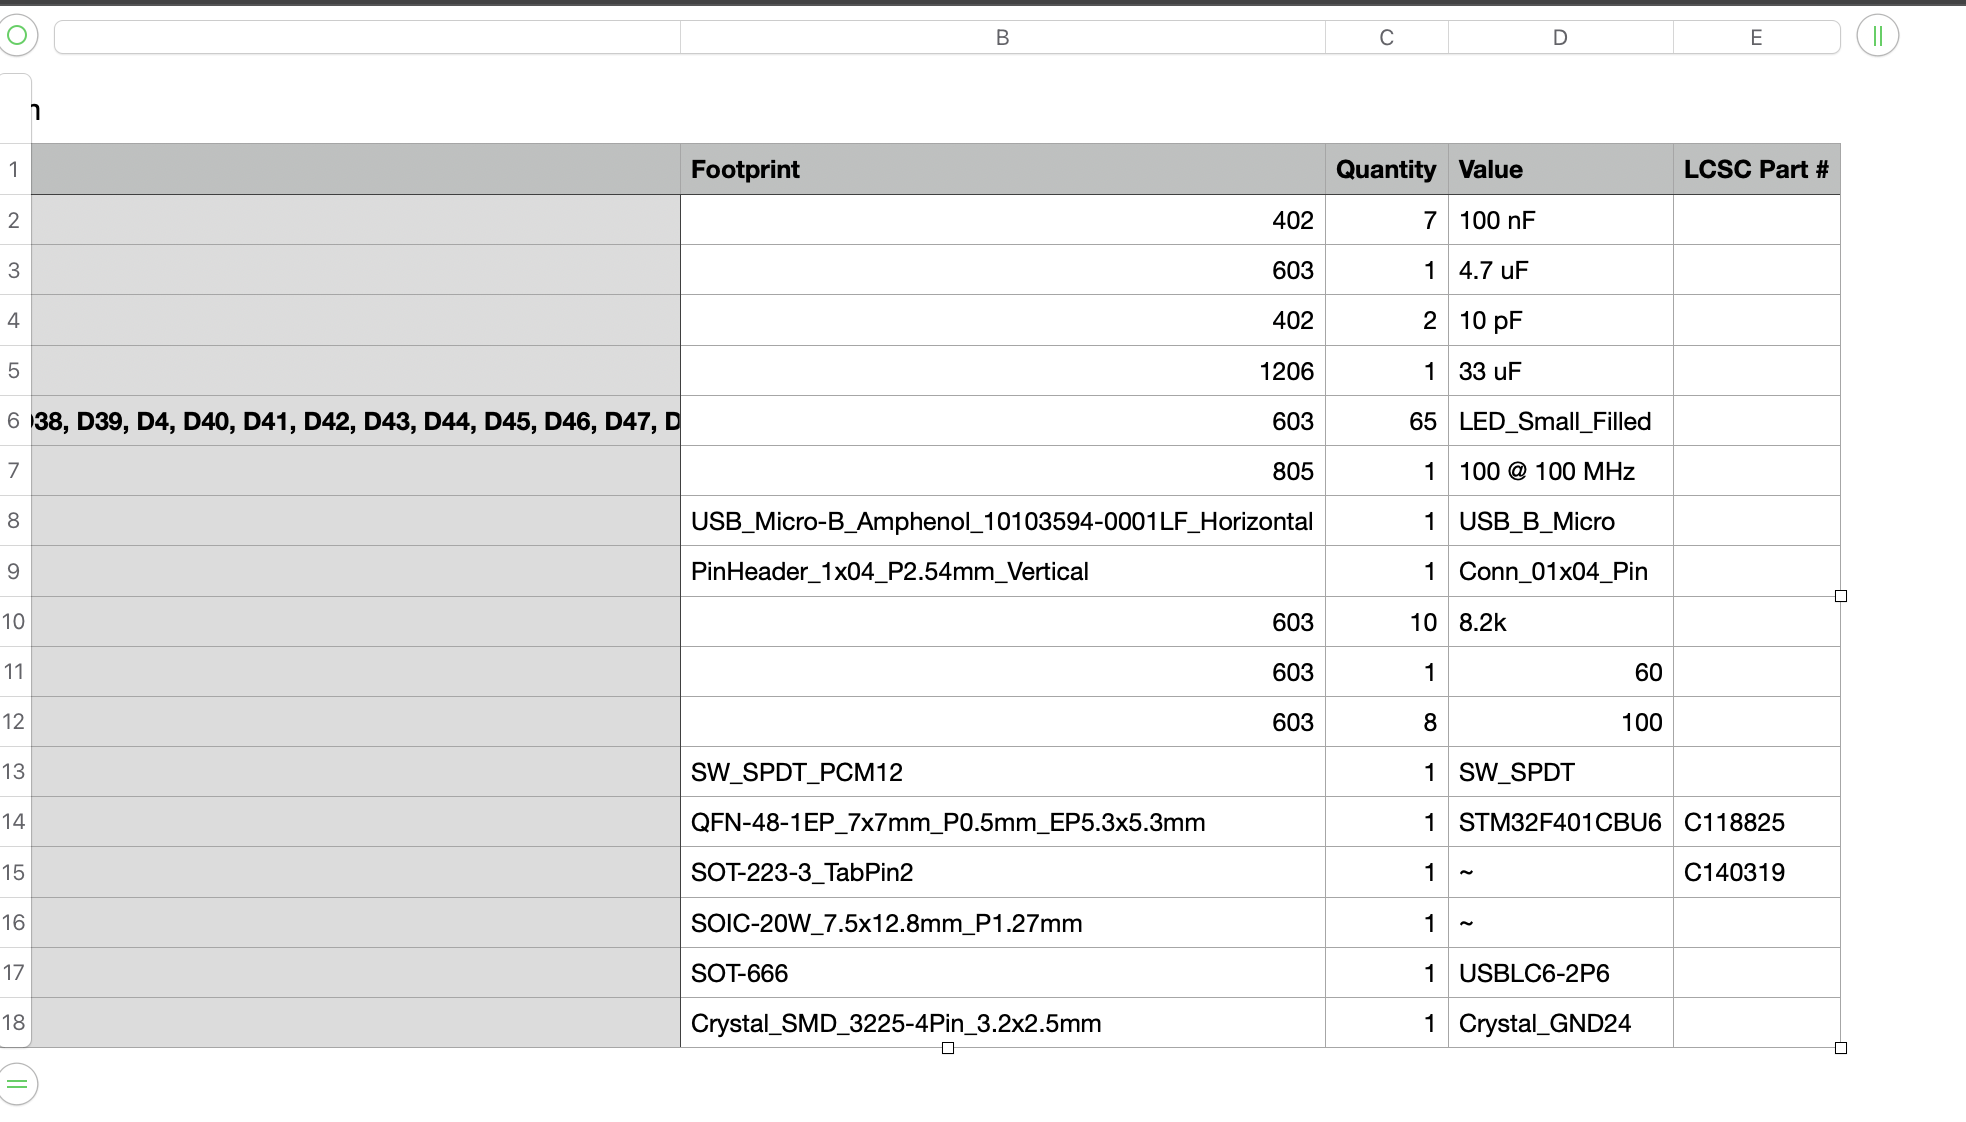
Generated BOM file
Now, the generated files are in both the correct format, and contain the part number for the components that had one specified.