Copper condition is important!
When I first got my CNC router for making homemade PCBs, I had taken for granted that the PCBs I had ordered were in the right condition for milling in the first place. I remember loading the front copper layer into Universal GCode Sender, maxing out the spindle, and then waiting two minutes for a PCB to come out perfectly.
Fast forward to the start of this semester, when I decided to repurpose some partially used copper boards in the M5 machine shop that had been sitting on a cart since 2002. I brought them to my router and tried to run a job, only to notice that the trace layer came out quite poorly.

After experimenting with a lot of feeds and speeds for my router, I couldn’t figure out how to mitigate this until Luke came by M5 and gave me an idea. Perhaps the boards had absorbed moisture during the time they had been sitting over the past two decades. I used Cobie’s reflow oven to dry out the boards I had been using, and also tried applying a small layer of 3-in-1 multipurpose oil before milling. I immediately noticed a significant difference in the trace quality!
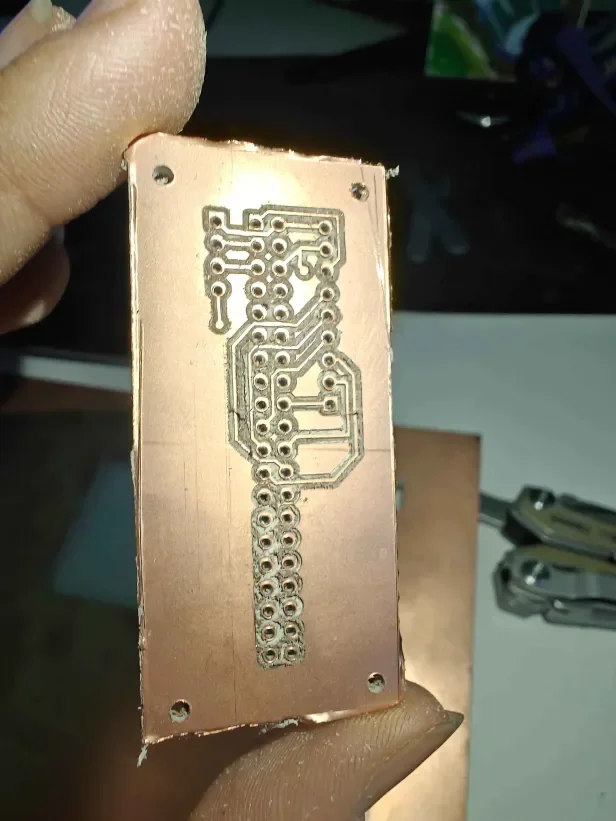
If you’re running into issues when milling PCBs from scratch, where the edges of copper traces seem smudged, or the copper otherwise appears melted, try drying out the boards and using some oil to help guide the mill bit through the copper.
Karl Kreuze
Electrical Engineering, 2026, Computer Engineering, 2026
6 April 2026
https://www.umassamherstm5.org/blog/pyl6dlnzjs50zwhfwq2834vqqmwxxd